
When you sit down to scrapbook one of the hardest decisions can be what design the scrapbook layout could be. Using a scrapbook layout you’ve created before can help you create your next layout. In this week’s layout video I shared a layout created for last month’s team meeting that I used as inspiration then created the Thunder scrapbook layout. This left-side page scrapbook layout is also one of my free sketches you receive when you sign up for my email list: http://Subscribe.FromWhereIStamp.ca
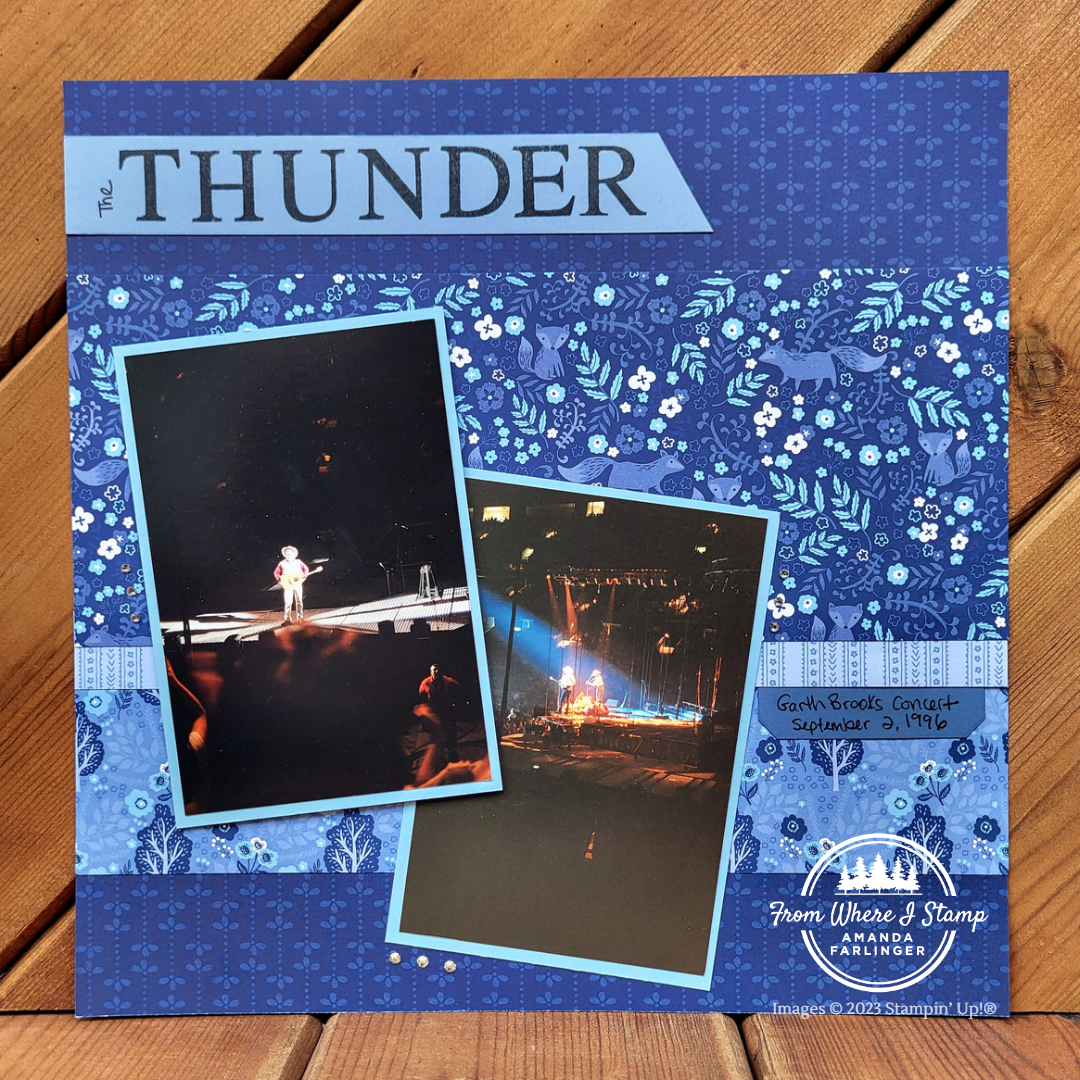
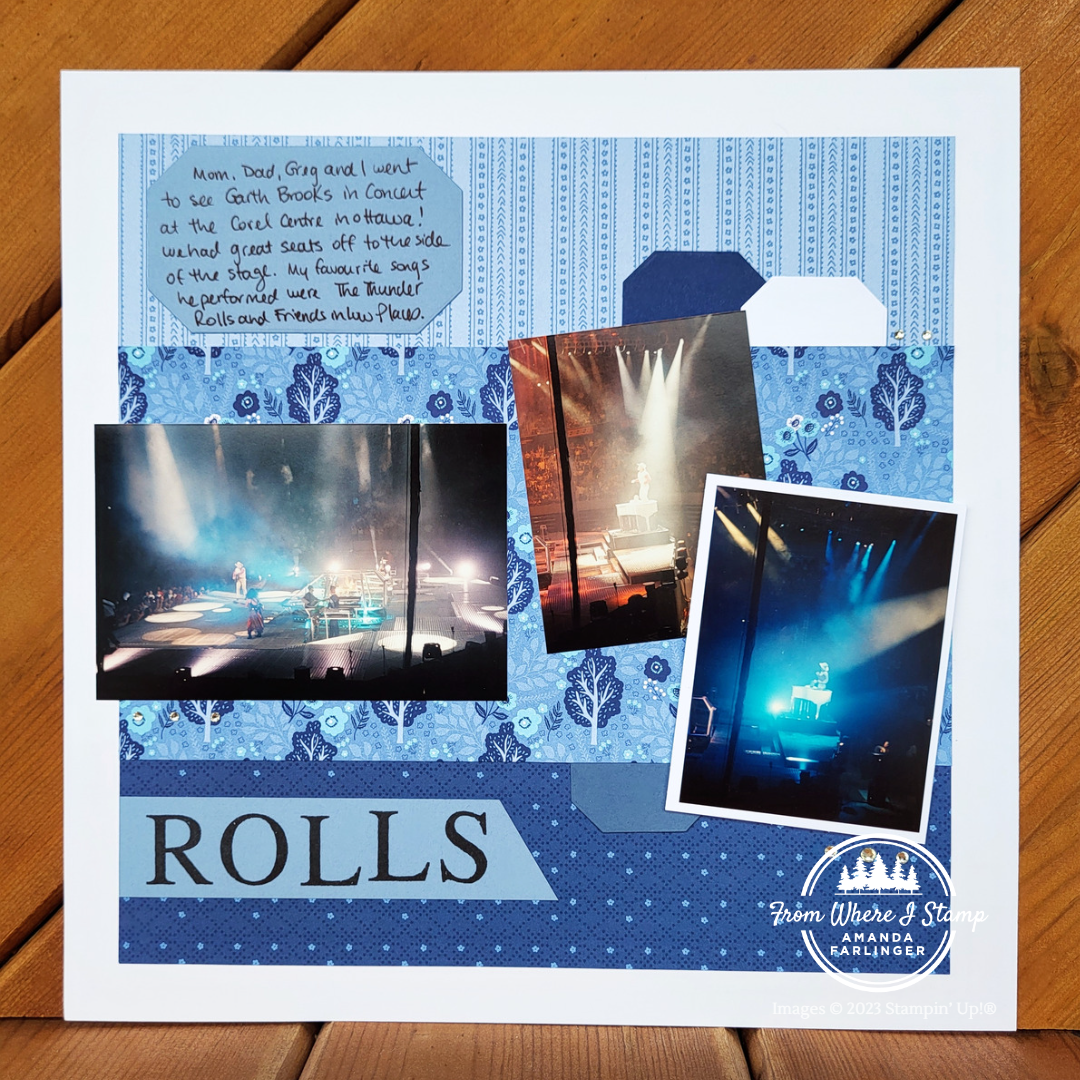
I’m the type of scrapbooker who likes to have photos first, then create the layout to match the photos I have. For these two pages I started with the Countryside Inn designer series paper since it was new paper! Then I went digging through photos to find just the right ones to craft with. In my 1996 pile I discovered these photos from the Garth Brooks concert in Ottawa, Ontario that my parents, brother and I went to. The title is spread over the two pages and is one of the song he performed that night: The Thunder Rolls.
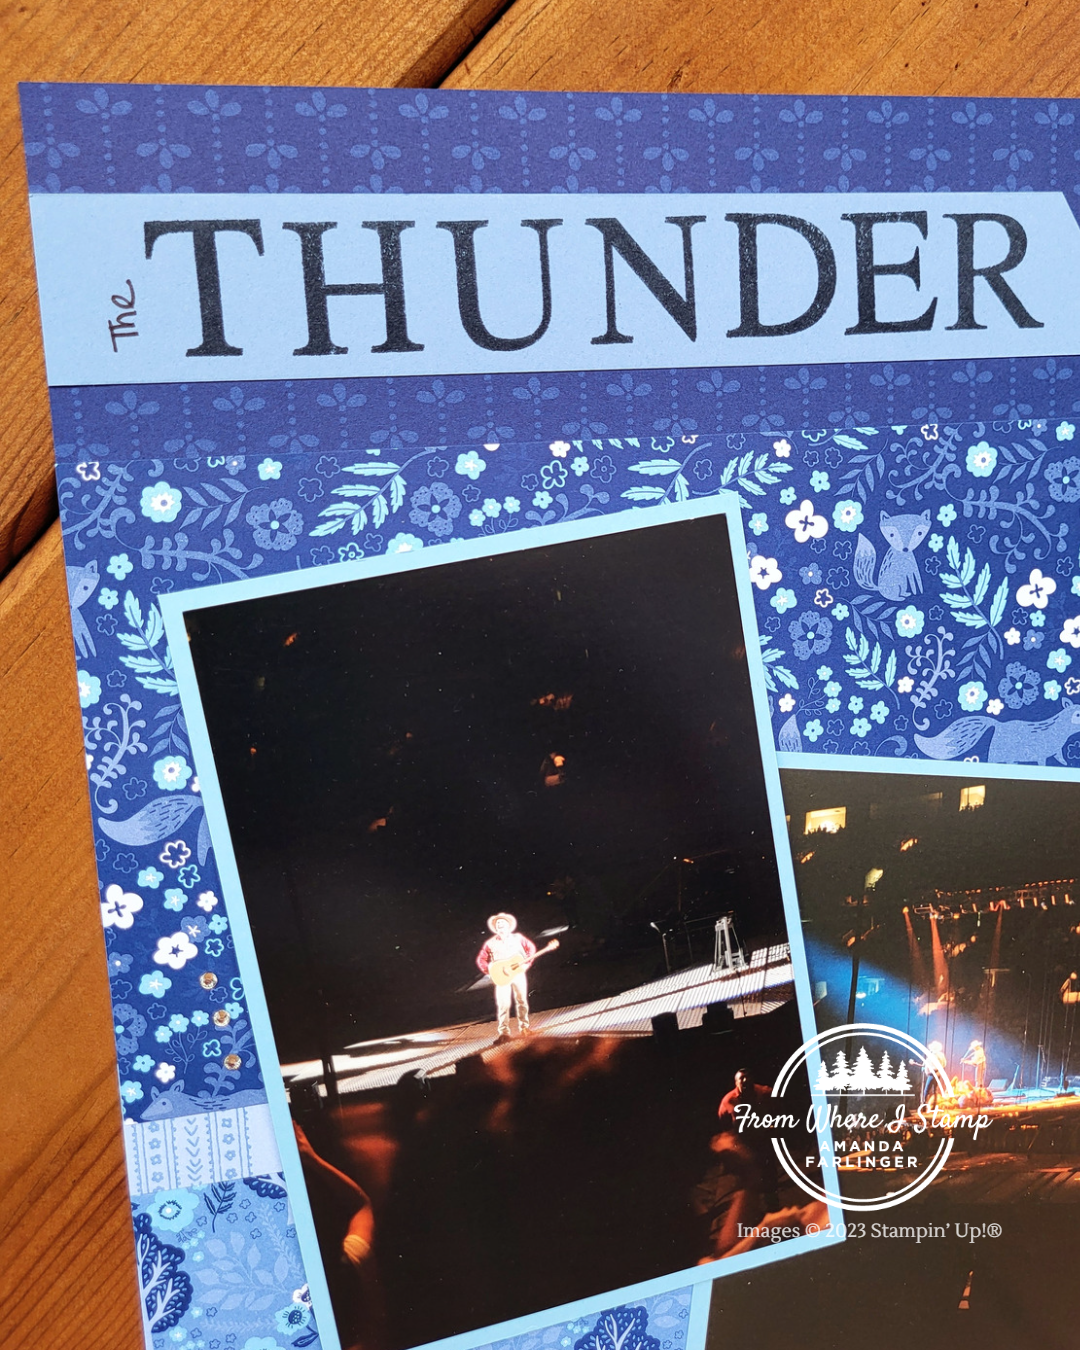
For the left-side scrapbook layout I chose 4 different designs from the Countryside Inn DSP. Because each Stampin’ Up! designer series paper pack has coordinating colours and designs it helps make it easier to create layouts. The hard part is deciding which pages to use first if you love them all! Other than the main Night of Navy design used for the layout base on the left-side, I was able to use one sheet of each design for both pages. Using the same design on both layouts helps to tie them together when viewing them in your album.
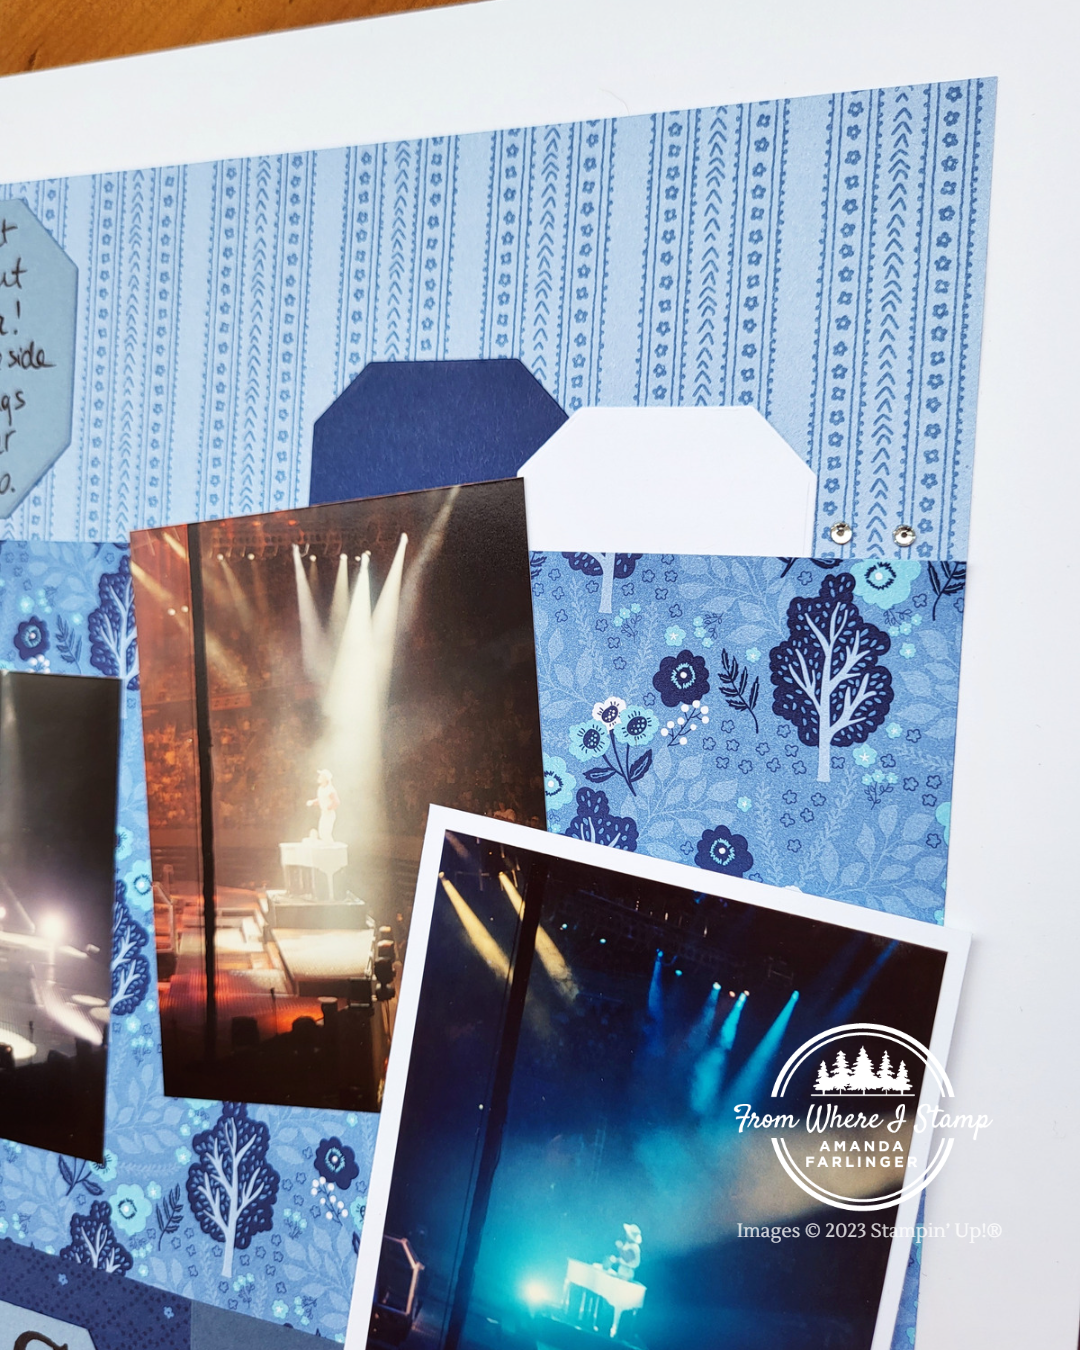
The Countryside Corners dies were used on both layouts as accents and on the right-side Rolls layout for the journaling. The dies coordinate with the Countryside Inn DSP as it’s all part of the Countryside Inn Suite in the new 2023-2024 Annual Catalogue.
Scrapbooking Layout Tutorial Using the Countryside Inn Designer Series Paper by Stampin’ Up!
CLICK HERE for the supply list to make for the left-side layout scrapbook layout. CLICK HERE for the supply list to make for the right-sided layout scrapbook layout.
The products used in this project were available at the time of filming of the video and/or writing this blog post. If an item does not appear in the list, it is no longer available.
